We like to talk about Steelcase chairs a lot. After all, they are some of the best in the business.
But no ergonomic Steelcase chair is complete without an equally durable and sustainable desk to accompany it. Where else would you store all your important records about how comfortable your back is?
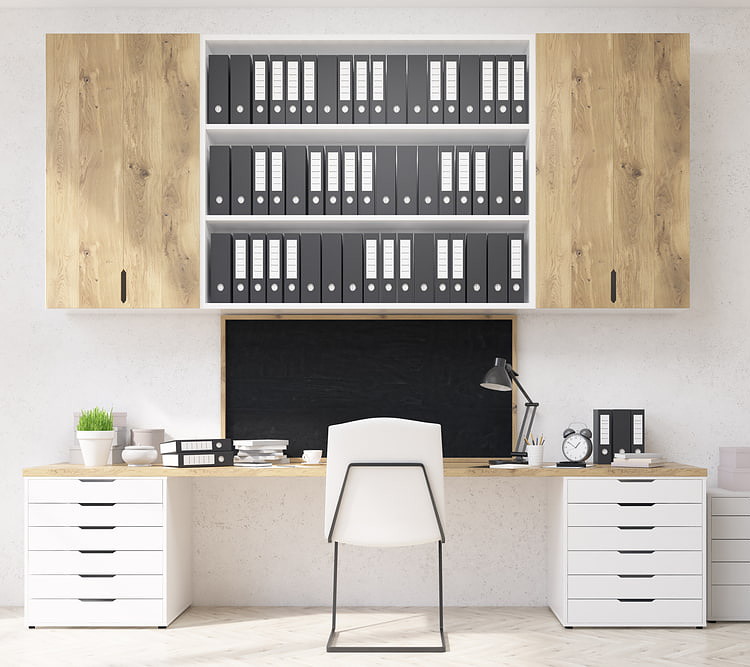
There are a few Steelcase desks on the market with different types of drawer removal systems. The drawers usually look like file cabinet drawers and are relatively simple to remove and install.
Let’s go over why you might want to remove the drawers of a desk in the first place, and how you can take them out and put them back in. It’s a surprisingly simple process that doesn’t even require any special tools and skills, so you can get it all done within a matter of minutes!
Table of Contents
Why Would You Want to Remove the Drawers?
There are a few reasons why you might want to remove the drawers from your Steelcase desk.
Desks are quite heavy, and moving them can be a hassle. Removing the drawers (and their contents) lightens them up significantly, making them easier to bring to a new space.
If you’ve decided to sell your Steelcase desk, you may want to take it apart to ship it to its new lucky owner. Depending on where you live, shipping can cost an arm and a leg. Taking it apart will decrease the volume of the package and the overall cost of sending it.
Desks, like other office furniture, can get a little grubby sometimes. Sometimes taking out the whole drawer and washing it in the sink is the easier way to give it a thorough cleaning.
Just make sure it dries completely before putting it back in to avoid moldy papers!
Finally, you might have to replace the drawers entirely. Things get damaged sometimes, and it’s much more affordable and sustainable to replace small pieces than go out and buy an entirely new piece of furniture.
How to Remove the Drawers?

There are a couple of ways to remove the desk drawers, depending on the model. Both types of desk drawers look like filing cabinet drawers, one model has handlers, and the other model does not.
If you have a desk with lateral file drawers (no handles), you’ll start by pulling the drawer out as much as you can. Remove all the content from the drawer, so you don’t accidentally damage the desk.
After that, look at the side of the drawer. You will find two tabs on the bottom front-hand side of the drawer. They are placed diagonally from each other with the larger tab on top.
There is a piece of plastic connected to the two tabs that come around the drawer’s bottom. Start by lifting the plastic off the bottom tab, then gently pulling it up until it releases from the top tab, too. You shouldn’t have to be too forceful with this, so if it feels forced, make sure you’re pulling the right way.
Once the piece of plastic is entirely removed, you should be able to lift the draw out of its space.
For drawers with handles, the removal process is even more simple. Like with the lateral desk drawers, start by pulling the drawers out as much as possible and removing their contents.
Locate a small lever on the side of the desk drawer. It should be positioned parallel to the bottom of the desk. Pull it down about 45 degrees.
This will release the drawer from the desk. You should be able to pull it out with ease afterward.
How to Put the Drawers Back In?

Now that you’ve taken the drawers out of the desk, it’s time to put them back in!
For the lateral drawers, put the drawer into its slot and snap the binding piece of the plastic back. Make sure it’s the right way around so that the bottom part of the plastic wraps around the bottom of the drawer.
For the other drawer, put it in its slot and pull the lever back up.
We recommend giving the drawers a little jiggle after you return them into their place to ensure they are secured. The last thing you want is a drawer falling out with loads of important documents in them. What a disaster!
Other Things You Should Know
Here are some other things you should keep in mind before beginning your drawer removal process:
- Be as gentle as possible. Steelcase has designed these desks to be incredibly user-friendly, so if it feels like you’re using a lot of force, step back and see if you’re following the instructions correctly.
- If the drawers are damaged, consider replacing them. Trying to force damaged drawers into a desk might mess up your desk. That’s the last thing you want!
- When you remove the plastic piece from your lateral desk drawers, store it in a safe place. While we’re sure you could source a replacement piece, it would be very inconvenient, so be careful.
If you run into any issues, there are authorized Steelcase repair locations around the world to help you out. Your warranty might even cover the damage, so only go to a certified location.
Do you have a Steelcase desk? Have you ever had to take the drawers out? Are there any tips or tricks you have for future Steelcase desk owners? We’d love to hear your experiences in the comments below.
Good luck!

My name is Vance, and I am the owner of To Ergonomics. Our mission is to improve your workflow by helping you create a supportive and welcoming environment. We hope that you’ll find what you’re looking for while you’re here.