If you are here, I don’t have to be Sherlock to guess that somewhere in your home, you have a sticker that needs removing.
Most people think removing a sticker is easy, but those people have never had to peel a sticker off of IKEA furniture — especially the kind with a laminate finish. When dealing with stickers on IKEA furniture, a botched removal operation can easily leave your furniture looking gnarly.
Fortunately, if you follow the methods listed in this article, you can remove even the toughest sticker with little to no damage or leftover residue on your furniture.
In this article, we look at seven ways to remove stickers from your IKEA furniture safely. So, let’s get started.
Table of Contents
What Should You Know About Stickers and Furniture?
The first question on your mind is probably where do these pesky stickers come from?
Well, there are three major sources of stickers, and these are:
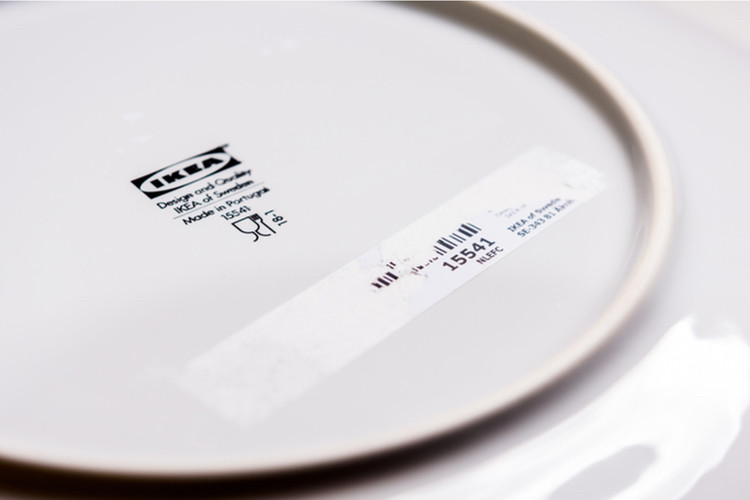
- IKEA: IKEA places stickers on its products for warnings, education, or brand visibility.
- Kids and family members: There’s something about decorative stickers that simply makes kids cuckoo for them. Hopefully, yours didn’t go overboard in their sticker pasting mania.
- From bought goods (pricetags): Sometimes stickers find their way onto your furniture when you unpack your groceries after shopping.
Secondly, stickers come in various sizes, functions, and surface types. So as you might have already guessed, you need to choose a sticker removal method that is ideal for your “sticky situation.”
As a rule of thumb, the sticker removal method you choose should not damage your furniture’s material or finish. This is because most IKEA furniture is made of laminate wood which makes removing a sticker tricky.
Certain materials are surprisingly easy to damage if you remove a sticker without the necessary caution.
Hence, the most effective method to remove stickers from your IKEA furniture is to know what type of wood you are dealing with.
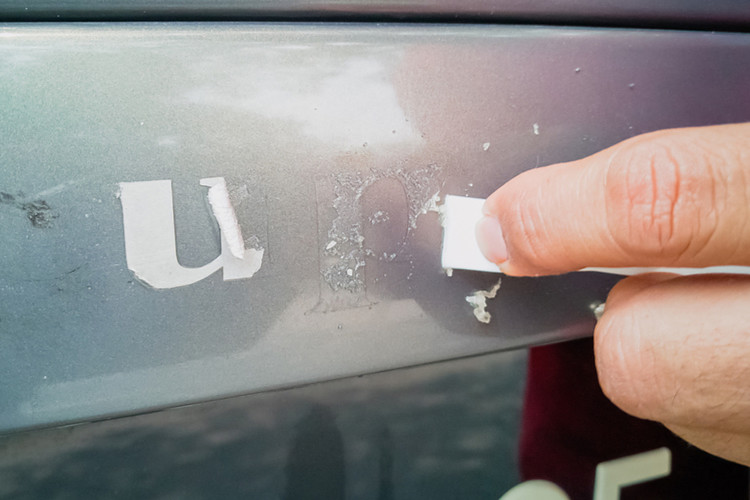
7 Ways to Remove Stickers from IKEA Furniture Without Leaving Any Residue
There are many ways to remove stickers without leaving behind any residue ranging from ill-advised brute force methods to scrapeless methods using peanut butter.
Here are seven sure-fire ways to remove stickers without leaving behind any residue.
1. Using vinegar
After stickers spend some time on your furniture, they can be a real devil to take off. Luckily, if you have white vinegar lying around, you can remove stickers without much hassle. All you need is a little bit of time and a card or scraper to remove old and dried-on traces of stickers from furniture.
The best thing about using this method is that vinegar will not damage your furniture. If you want to see a demonstration of the method, check out this vinegar sticker residue removal video.

Procedure
- Apply vinegar to the sticker or surface to be cleaned
- Wait for at least five minutes for the glue and paper to soften
- Remove the softened areas using a thin object, be it a scratch card or your fingernail
- Wipe with a damp soapy sponge
Pro Tip: Nail Polish can also substitute vinegar.
2. Using hot water
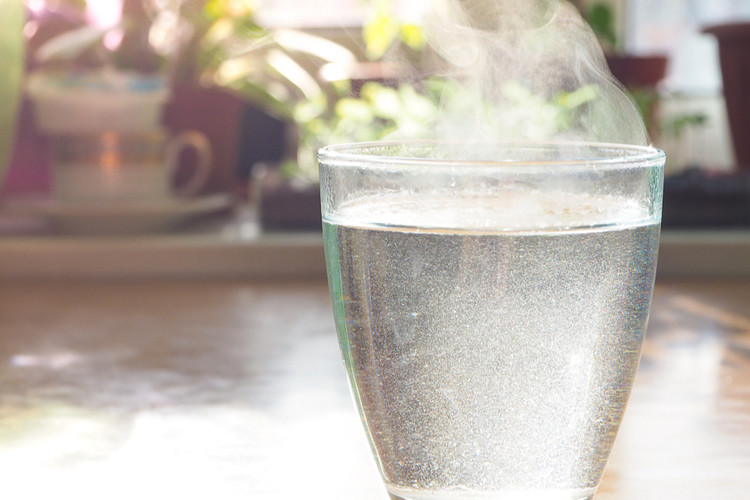
If you find vinegar’s assault on your nose too much for you, you can use good old soapy water that’s “hottish.”
Soapy water generally is not corrosive, and hence it’s suitable to use on most surfaces. However, it may not be the best option for IKEA furniture like the IVAR storage system made of untreated pine wood. Using water on untreated furniture might leave a mark and ruin the wood.
Having said that, you can use hot, soapy water safely on treated furniture. Here’s how to go about it.
Procedure
- Heat water with liquid soap
- Apply the hot, soapy water to the sticker using a sponge or cloth
- Leave for about 10 – 15 minutes
- Remove the sticker using your fingers, a credit card, or a scrapper
- Add a drop of baby oil and rub with a dry cloth to remove any remaining sticker residue
Precaution: To avoid damaging your furniture’s finish, conduct a preliminary test on a hidden area to check if the water will not ruin your furniture.
3. Using alcohol
In this method, most products with a significant alcohol concentration will work. Examples are vodka, cologne, and deodorants.
As a rule of thumb, the higher the alcohol content, the better because the sticker removal magic lies in the alcohol.
Procedure
- Dampen a cloth or napkin with alcohol
- Wipe the whole sticker with the cloth
- Wash off the remains
Here’s a quick youtube video on alcohol sticker removal.

Precaution: To avoid damaging your furniture’s finish, carry out a preliminary test on a hidden area to check if the alcohol will not ruin your furniture. Preferable areas for testing are at the bottom or on the inside.
4. Using adhesive removers or solvents
With adhesive removers and solvents, you never know. Most times, it’s hit or miss as some types of removers and solvents don’t play well with certain kinds of furniture. Therefore, it’s essential to conduct a preliminary check to see if your product does not damage your furniture.
To check, apply a small amount of remover or solvent in a hard-to-see area, wait some time, and assess the results.
If it’s safe to use, removing even the toughest sticker with stubborn residue won’t be a problem.
Side Note: It might be wise to use protective clothing such as gloves, glasses, etc.
Procedure
- Apply adhesive remover or solvent (e.g., WD-40 or Goo Gone) only after checking it’s safe to use on your furniture.
- Let it sit for about 5 minutes.
- Gently scrape off the sticker and residue using a plastic scraper or old card.
- Clean remains of sticker and adhesive remover with a damp cloth.
- (Optional) Depending on furniture type, wash the area using a soapy sponge. Note that soapy water is not suitable for untreated or unfinished wood.
Check out this youtube video for more info on how to remove stickers using solvents.

5. Using vegetable oil
As you might have already noticed, the bulk of methods listed in this article use things you can find in most homes. In this method, vegetable oil like refined sunflower cooking oil will work just fine.
Alternatively, you can also substitute vegetable oil with other oils like mineral oil, baby oil, olive oil, etc.

Procedure
- Coat the sticker with your oil of choice.
- Give it time to soak through. Five minutes is usually long enough.
- Peel the sticker off using a card, scrapper, or any other suitable object that will not damage your furniture.
- Clean the remaining residue with more oil, hot soapy water, or a dab of dishwashing liquid.
6. Using peanut butter
Apparently, peanut butter is not just for making killer PB&J sandwiches. Peanut butter can be a tasty solution to your sticker problem if used correctly.
The only downside is that this method takes a little longer than other methods.
So if you are wondering why we included this solution despite its drawbacks, it’s because it has a huge plus in its favor – the peanut butter method doesn’t involve scrapping!
Procedure
- Cover the sticker with peanut butter.
- Give the peanut butter time to soften the sticker. Approximately an hour will be enough. You can run some trial and error tests to see how long you need.
- Peel off the sticker from one corner.
- If the sticker is being stubborn, apply more peanut butter and give it more time.
Check out this youtube video on peanut butter sticker removal.

7. Using heat
This is incredibly easy to do yet has a high risk of derailing. Using excessive or prolonged heat on certain furniture can ruin its finish or quality. For example, laminated pieces of furniture where the finish involves adhesive might weaken after being heated.
That being said, if done correctly, this method may be the most painless and fastest out of the others on this list.
All you need is a hairdryer or heat gun. Alternatively, if you are in a pinch, you can use your car’s heater or blow warm air.
Procedure
- Heat the sticker for a few seconds using a hairdryer or heat gun at the lowest setting.
- Gently lift the sticker starting from one end. You can use a scrapper, card, or similar object to get an initial foothold… or fingerhold in this case.
- Pull off the rest of the sticker.
- If the sticker is being stubborn, reheat it as you remove it.
As a side note, remember you don’t want your heat to negatively affect the furniture as you are heating. Hence, take note of the temperatures as both the sticker and the product can get hot quickly.
To get the best results and avoid mishaps, here are some pro tips for you:
- Keep your hairdryer at least two inches away from the furniture
- If you are using a heat gun, keep it at least three inches away from the targeted area
- Keep your dryer or heat gun moving, don’t focus on one spot for too long
Check out this youtube video for a demonstration on sticker removal using heat.

Thanks for reading!
PS: You can also use most of the above methods on other surfaces like glass, plastic, metal, etc. Just remember to test before committing

My name is Vance, and I am the owner of To Ergonomics. Our mission is to improve your workflow by helping you create a supportive and welcoming environment. We hope that you’ll find what you’re looking for while you’re here.
Leave a comment