Table of Contents
What is a Gas Cylinder?
Before I delve into the repairing procedure, I would like to briefly explain a gas cylinder.

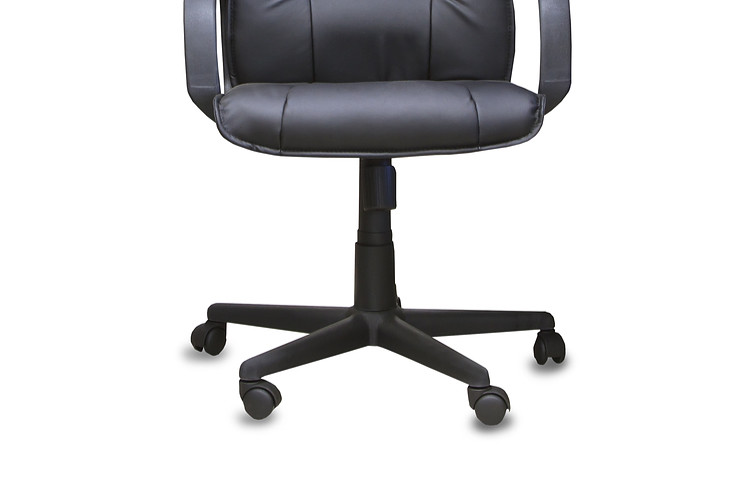
A gas cylinder, sometimes called a pneumatic cylinder, is the adjustable shaft that connects your chair’s seat to its wheels. The gas cylinder, in this case, is not to be confused with the gas cylinders or tanks we use for cooking.
A chair gas cylinder helps increase the ergonomic ability of your chair and improve your seating comfort. It does so by giving you the ability to adjust the height of your chair to match your needs.
A chair cylinder is also called a pneumatic cylinder because it’s filled with compressed air, which is why some people call chair cylinders gas lifts.

Why Do Gas Cylinders Get Stuck?
There are many reasons behind a stuck chair base. Unfortunately, some of these reasons are inevitable as they have to do with the wear and tear caused by everyday use.
On the other hand, you can avoid some of the underlying causes with a bit of awareness.
Here are the usual reasons why gas cylinders get stuck:
- Long-term build-up of rust and old lubricant
- Wear and tear from normal usage erodes the protective coating
- Broken or faulty chair components
- Regular use by a heavy person above the chair’s specified load-bearing capacity
How to Fix a Chair Cylinder Stuck in Your Chair Base
It’s time to get your hands dirty. However, before you begin, here’s a list of recommended tools you need to fix or replace your chair cylinder.
Tools needed to fix a gas cylinder for a chair:
- A mat, newspapers, or a plastic sheet to protect your work surface. It also helps to collect grease, dirt, and fragments.
- A rubber mallet. When hammering on chair components, use a rubber mallet to avoid scratching, denting, or ruining your chair. However, if you don’t have a rubber mallet, you can also use a regular hammer with caution.
- A lubricant to make the gas cylinder removal process less difficult. If you don’t have it, you can also try using brake fluid. These products help loosen components, rust, or residue that make the removal process difficult.
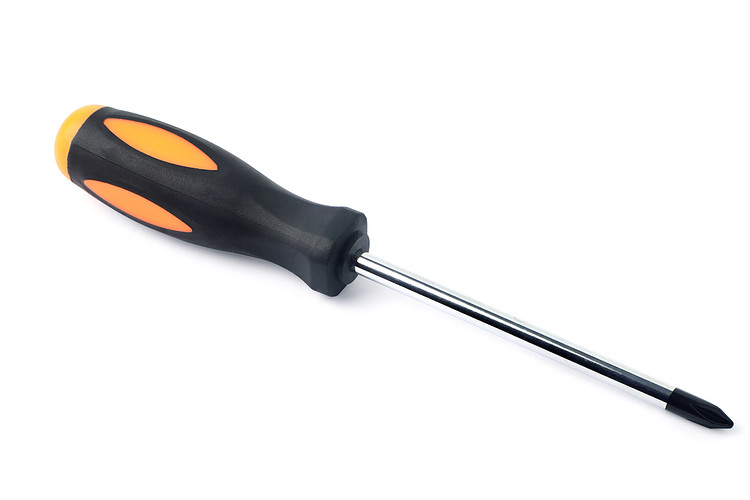
- Screwdrivers. To fasten or unfasten any screws. A strong screwdriver can also be a handy lever to jimmy your stubborn components.
- A pair of gloves, preferably rubber gloves with an excellent grip.
If you have your tools ready, we can talk about the gas cylinder repairing operation. The operation consists of two stages:
- Cylinder removal procedure: This is the process of loosening and removing the stuck gas cylinder from your chair base.
- Cylinder reattachment procedure: This stage involves installing the repaired cylinder or a new one. It may also involve replacing any faulty components.
Stage 1: The Removal Procedure
- Firstly, put on your rubber gloves to protect your hands from injury and stains and improve your grip.
- Use a mat, sheet, or newspapers to cover your work surface (floor, table, or otherwise) to protect it from damage or stains. It will also make the after-repair cleaning much more manageable.
- Turn your office chair upside down or lay it down on its side. This makes the removal and lubrication process easy. Make sure that you have easy access and sight of the center of the chair and the chair base.
- Apply your lubricant (e.g., WD-40) around the base column joint and let it soak in for a few minutes. Make sure the lubricant goes inside the joints and recesses of the targeted components.
- Using the appropriate force, hammer on the sides of your chair base using a rubber mallet. For the best results, periodically add lubricant to your chair cylinder’s joint with the chair base. This reduces the amount of effort required. Avoid hammering on the center of your cylinder under the chair base.
- Practice caution and avoid injury by ensuring the removed cylinder or chair base does not drop on your feet.
- The stuck cylinder should be out of your chair base if done correctly.
Congrats! You just removed your chair cylinder.
On the other hand, if your cylinder didn’t come out. Keep on trying. Sometimes the process is easy; other times, it’s a real devil. So don’t give up and keep on lubricating and pounding away, as shown in this video.

Next, we move on to stage two. You will either be reattaching the old cylinder or installing a new one. This stage is often quick and easy as the reattachment procedure usually depends on your weight to stick together.
Stage 2: Cylinder Reattachment Procedure
- If the cylinder doesn’t have any problems, you’ll want to clean it first. If the cylinder you remove is faulty, get a replacement that matches your parts. You can find the specification of your cylinder by searching online or reading the tags on it.
- After cleaning your components, place your cylinder into the mechanism under your seat.
- Place your chair cylinder into your chair base.
- If everything fits together and the cylinder is aligned correctly with the rest of the chair, flip the chair into the usual seating position.
- Gently sit into your chair, making tiny bouncing movements so that your gas cylinder and the other components connect securely.
Congrats! If done correctly, your gas cylinder should now be firmly attached and will not fall off even if you lift the chair. You can clean up your workspace and put away your tools.

How to Prevent the Gas Cylinder from Getting Stuck in the Chair Base
Prevention is better than cure — this saying couldn’t be any more true in regards to preserving your chair’s components.
Proper treatment, care, and use of your office chair go a long way in ensuring that your gas cylinder doesn’t get stubbornly stuck in your chair base.
Of course, your cylinder will inevitably get slightly stuck after using it for some time. This is because the mechanism that holds your chair together relies on the compaction from your weight when sitting down.
Nevertheless, here are some pro-tips to follow if you want a long-lasting chair and a gas cylinder that won’t get stuck:
- Clean and lubricate: Your cylinder will become stiffer over time. Going for years without carrying out any maintenance on your chair is the number one reason for stuck cylinders. Hence, periodically service your chair to avoid future problems. This step is usually done by raising your chair to the max, wiping away old lubricant, applying new lubricant to the exposed areas, and repeatedly raising, lowering, and rotating your chair to spread the lubricant.
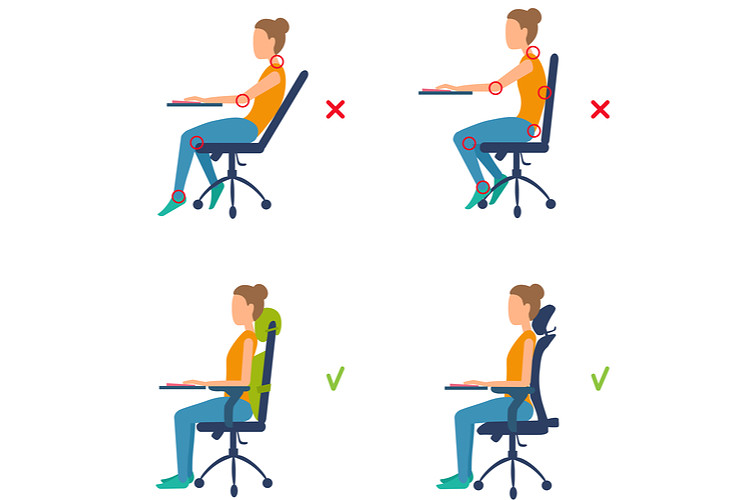
- Sit properly: Avoid sitting at the edge of your seat because it stresses components unevenly, resulting in a shorter chair lifespan and stuck components. Sitting in the middle of your chair helps evenly distribute your weight down the cylinder into the base and floor.
- Use the right chair: Chairs are not created equal. Some chairs can support giants, while others barely meet the requirements of the average Joe. Hence, check the weight capacity of your chair and choose accordingly.
- Use your chair with care: Avoid damaging actions like throwing yourself into your chair or sitting at the edges. Careless treatment heavily contributes to stuck cylinders.
Thanks for reading!

My name is Vance, and I am the owner of To Ergonomics. Our mission is to improve your workflow by helping you create a supportive and welcoming environment. We hope that you’ll find what you’re looking for while you’re here.