If you purchase an office chair online, you may be surprised when your package arrives.
More often than not, your office chair won’t arrive as a complete chair that you can use right out of the box.
Instead, it will come in different parts that you will have to assemble yourself.
All the many pieces inside the box may look intimidating…
But don’t worry!
Assembling an office chair is not as difficult as it looks. Even if you have zero experience assembling furniture, we’re pretty sure you can tackle this task.
It will, however, require careful attention to instructions and a bit of patience.
Keep reading to learn how to properly assemble your new office chair.
Table of Contents
Step 1: Preparing the Right Tools
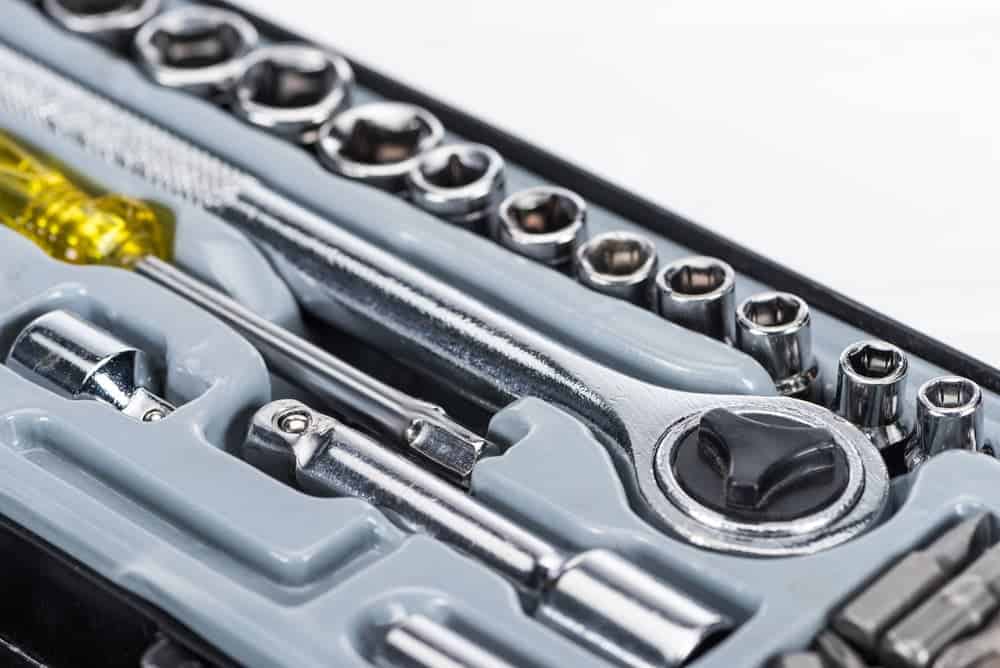
Whenever you want to assemble something, you always want to use the right tools.
This will make things a lot easier and will prevent damage.
Brand new office chairs that you purchase online will usually come with a tool kit. It will contain all the tools you need for assembly.
These tools, however, are usually cheap and flimsy. They can get the job done, but not quite as well as your own set of tools.
The tools you will most likely need to assemble your new office chair are the following:
- Power drill/screwdriver (optional)
- Safety gloves
- (optional)
Step 2: Unpacking

The first step is to open up the box and unpack everything inside.
Each chair part will likely be covered in some kind of wrapping. Either bubble wrap or plastic to protect it from damage during shipping.
You want to remove all protective wrappings from each part so that the assembly process will be smooth.
Find yourself a clean workspace so you don’t mix the parts with other things lying around your house.
You’ll want to make sure that there are no missing pieces from the set. You can check the manual for a complete checklist of all the items that should be in the box.
If there are any missing pieces, be sure to contact the store you bought the chair from immediately.
Arrange everything into categories. Large chair parts go into one corner, bolts and small locks into another, and tools into yet another corner of your workspace.
This will make your assembly process much smoother.
Step 3: Assembling the Base
To begin assembly, we can start off with the base.
Take the star-shaped wheelbase and flip it over.
Now take your casters and insert them into the sockets on the tips of the wheelbase.
Standard office chairs have five casters. Yours may have more or less, depending on the type of chair you have.
Installing your casters does not require any tools. You can do this using only your hands
If one or two of the casters is particularly stubborn and won’t lock into place, you can use the rubber mallet to gently tap on it until it fits snugly in the socket.
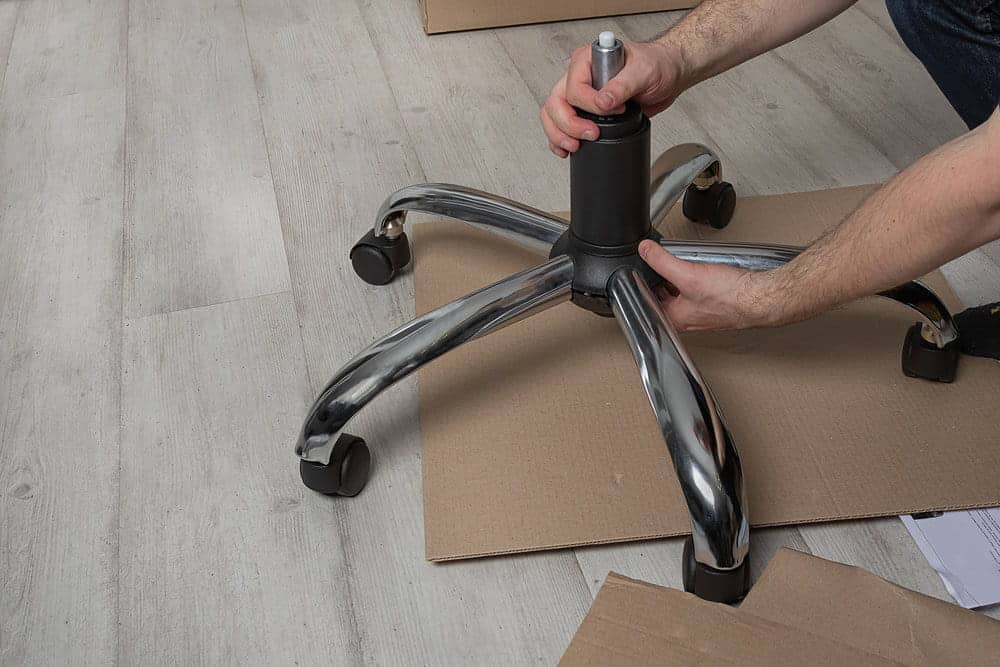
Once all five casters are installed, flip the wheelbase into its correct orientation.
Then take your gas lift and insert it into the hole at the center of the wheelbase.
Make sure you insert the correct end into the hole.
The end that goes into the wheelbase will have a wider diameter. This is usually the black end.
If your gas lift has a plastic scope cover, you’ll also want to make sure it’s inserted correctly.
Most standard office chairs do not have any type of lock for the gas lift. They are simply fastened into place by the weight of the chair.
There are some office chairs, however, that have a small pin that goes under the gas lift. You can insert this using a screwdriver.
Step 4: Assembling the Seat
After assembling the base, you can put it aside while you assemble the seat.
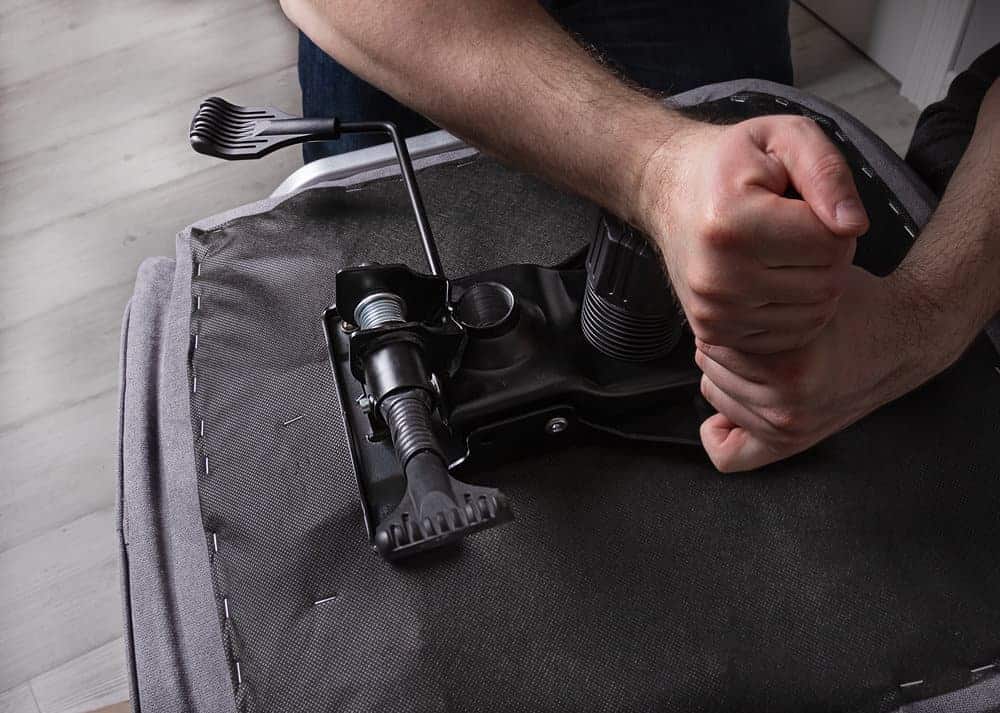
Take the main seat cushion and flip it over to expose the underside. Then take your chair mechanism and align the holes with those on your seat.
The mechanism should have a front and back label so you will know how it should fit on your seat.
Insert the four bolts into the holes and tighten them with your fingers first. When all bolts are in, you can then proceed to tighten them with your screwdriver or allen wrench.
If your mechanism has a plastic protective cover, you can install this right after installing your mechanism.
They’re usually fastened in place by four short screws.
Next, you can proceed to the armrests.
Smaller armrests are attached to your seat by only two bolts. Larger ones will usually have four of them.
In some chair designs, the armrest not only attaches to the seat, but also the backrest of your chair.
You can check the instruction manual that came with your office chair to see how each piece is attached and which bolts to use to fasten them in place.
Whenever fastening screws, remember to never force anything. If a screw doesn’t turn smoothly, you most likely have a small misalignment.
Always check your alignment before tightening any of your screws.
After installing your armrest, you can proceed to the backrest.
The backrest is installed pretty much the same way the armrests are. Find the correct bolts and fasten them onto your backrest.
On some office chairs, you will have to lock the backrest between your armrests by little brackets. These can simply be pulled together by hand.
Step 5: Putting it All Together

After assembling the base and the seat, it is now time to put them both together.
This is a very simple process and does not require any tools.
You simply lift the seat and align the top of your gas lift with the hole under your seat’s mechanism.
Then press it down with your weight.
That’s it! No need to screw anything in place. Your body weight is what keeps the seat attached to the base of your chair.
Conclusion
We’re thrilled that you’ve read all the way to the end! We hope that this article has equipped you with a brand new practical skill.
The next time you order an office chair online, you no longer have to worry about assembling it when your package arrives.
If you want to see exactly how assembling an office chair is done, you can watch this video from Junger Explorer:


My name is Vance, and I am the owner of To Ergonomics. Our mission is to improve your workflow by helping you create a supportive and welcoming environment. We hope that you’ll find what you’re looking for while you’re here.
Leave a comment