Do you know what’s going to infuriate you after a tiring day? Sitting down on a chair with uneven legs.
Imagine this, you just got home after a long day wanting to rest. You pull out a chair expecting to finally rest, but when you sit it ends up rocking back and forth!
Now you can insert a piece of cardboard beneath one of the legs, but it’s such an eyesore. If the piece of cardboard slips out, you end up with a wobbly chair again.
Until you get the legs evenly matched, you’ll never be able to use that chair to relax. And what good is a seat if it can’t help you rest and feel comfortable?
If you’re here, then you’re probably sick of that uneven chair. And you’re ready to fix it up! Thankfully, the steps below are straight forward and won’t require any fancy carpentry tools.

Table of Contents
- What you need:
- Warning:
- Step 1: Identify the uneven legs
- Step 2: Measure the gap between the leg and the surface
- Step 3: Mark the legs that do not move
- Step 4: Turn the chair over
- Step 5: Remove any metal parts at the bottom of the legs
- Step 6: Measure and mark the legs to be trimmed
- Step 7: Start sawing
- Step 8: Sanding
- Step 9: Double-check!
- Step 10: Final steps
- You’re done!
What you need:
- The chair
- Ruler
- Chisel (optional)
- Hammer (optional)
- Masking tape
- Scissors (for the tape)
- Coping saw (or any saw that you have)
- Leveled bench or table
- Sandpaper (100-grit)
- Varnish or wood stain that matches the chair (optional)
Note:
These steps are meant for wooden chair legs. Because of this material, the legs of these chairs get worn out.
If the chair is made out of metal and is wobbly, the problem might be from other causes.
Warning:
Be sure to use protective eyewear and gloves to avoid any mishaps. You’ll be using sharp tools so make sure you’re careful at all times!
Step 1: Identify the uneven legs
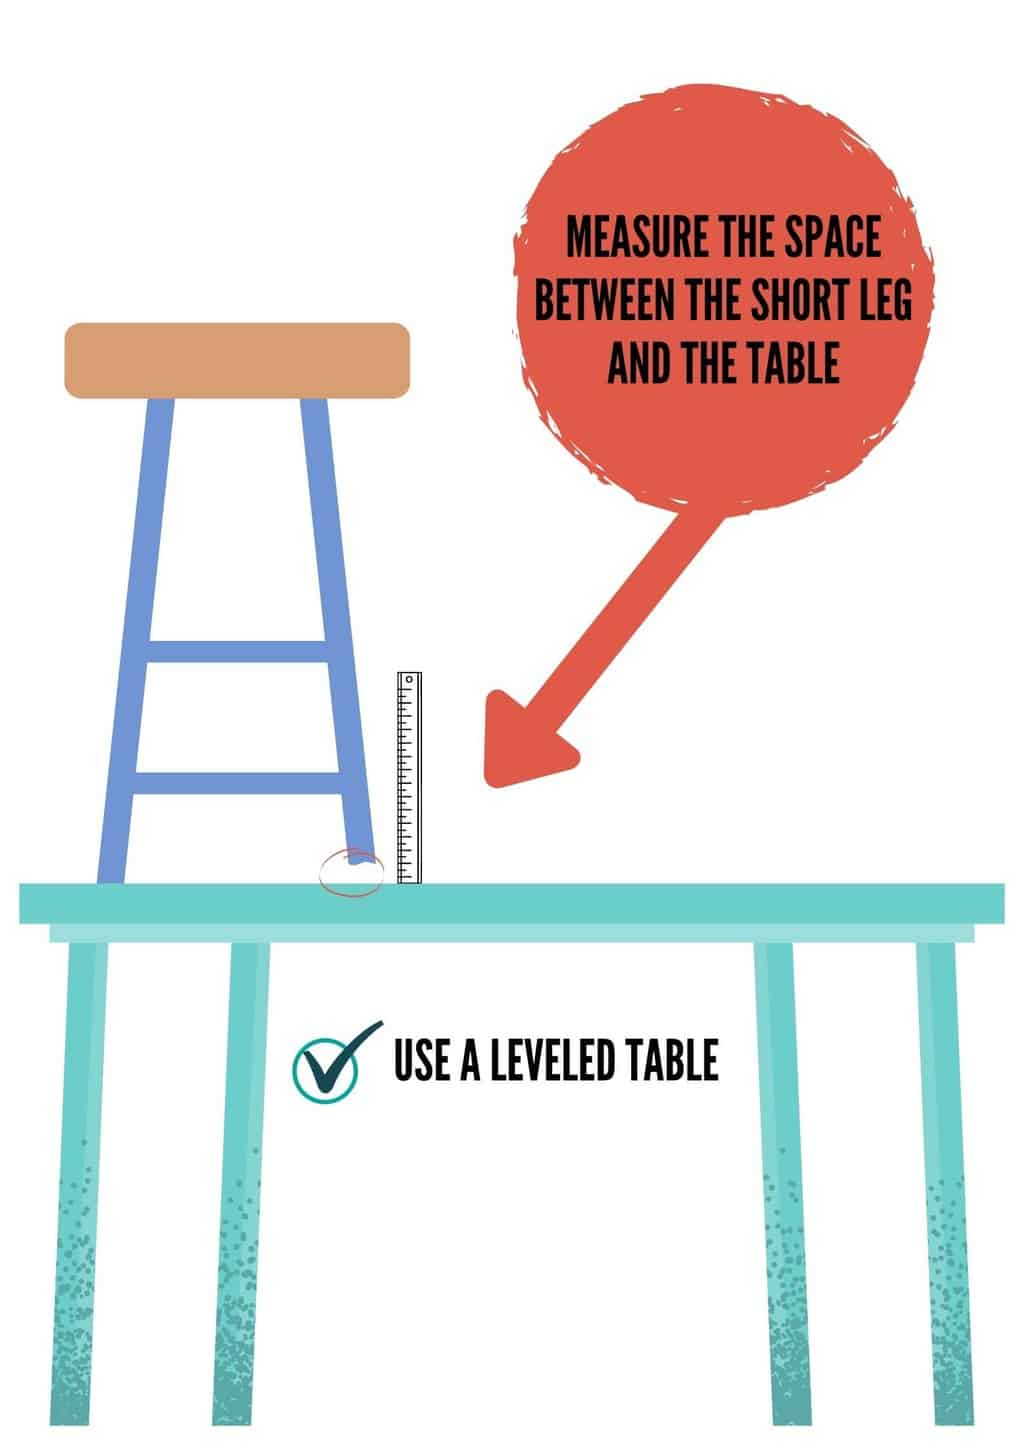
The first thing on our list is to check which leg is causing unevenness. You need a completely straight surface to do this.
Place the chair on top of a table so you can inspect the legs closely.
Rock the chair back and forth to identify the short legs, there should be 2 of them. You can also observe the legs at eye level to see which leg doesn’t touch the surface of the table.
Step 2: Measure the gap between the leg and the surface
Take a ruler and note down the gap between the table’s surface and the legs. This is going to help you know how much to remove from the rest of the legs.

Step 3: Mark the legs that do not move
Take small pieces of masking tape and stick them on the leg or legs that don’t move. You can rock the chair again to be sure.
The ones that don’t move are going to be the ones you need to trim. So make sure you mark them to avoid trimming the wrong legs!
Step 4: Turn the chair over
You can put a cloth to protect the other side of the chair. This way you can avoid scratching the seat or the backrest.
Step 5: Remove any metal parts at the bottom of the legs
Depending on the chair that you have, you might notice something like a metal protector. You can remove that using whatever tools you have.
You might want to pry it off using a chisel and a hammer, or whatever is more convenient.
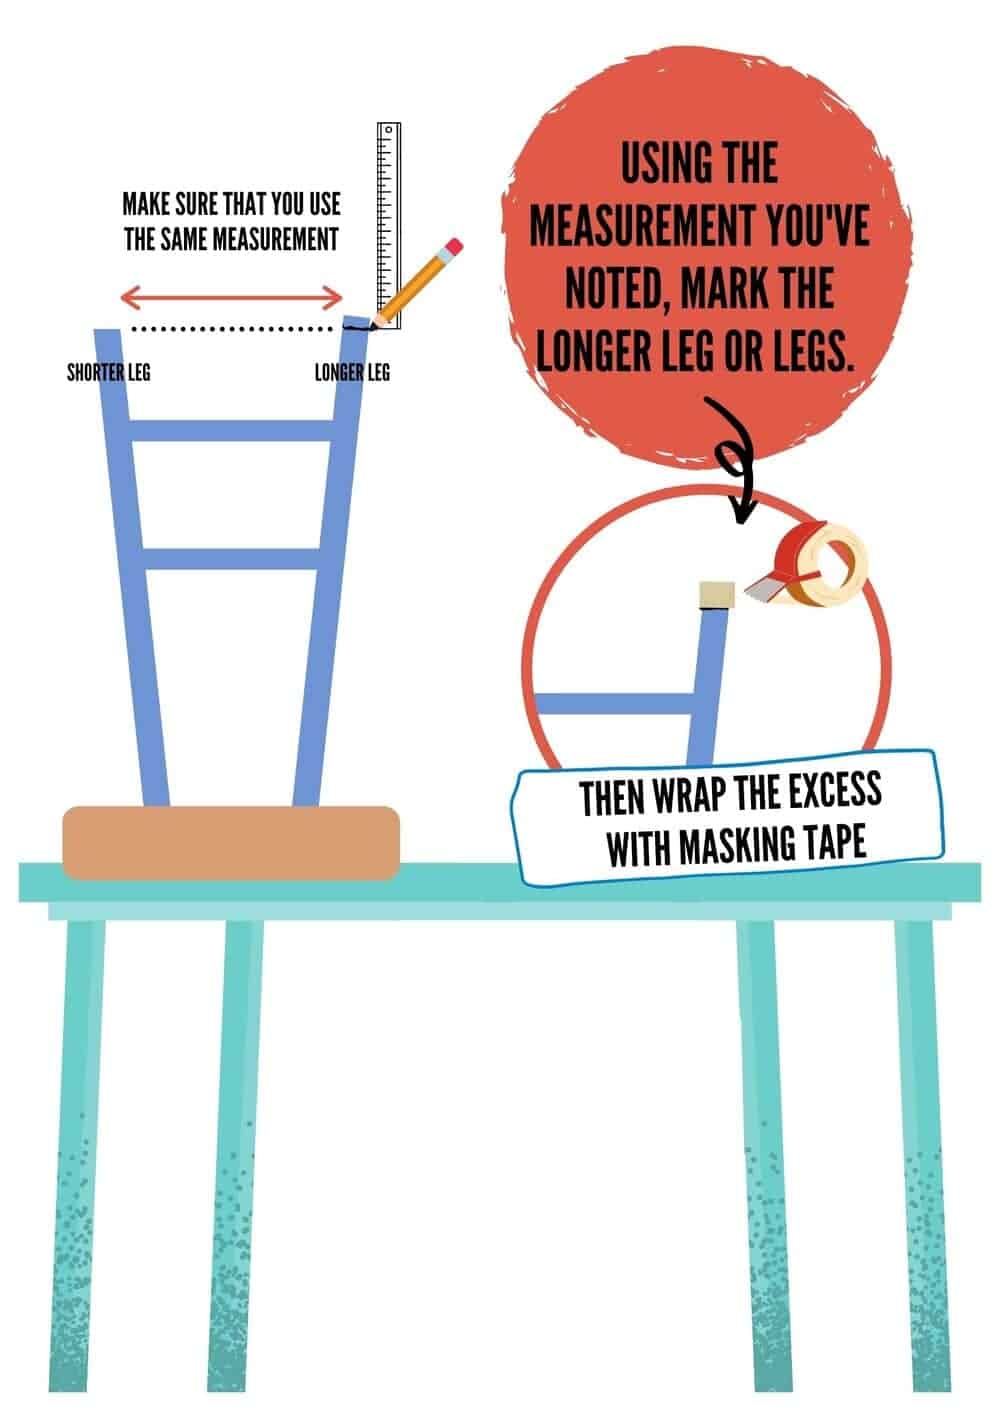
Step 6: Measure and mark the legs to be trimmed
Focus on the legs that you marked with the masking tape.
Remember the measurement of the gap between the legs and the surface? Use those same measurements on the legs to be trimmed.
Use masking tape to wrap around the area that you will be trimming.

Step 7: Start sawing
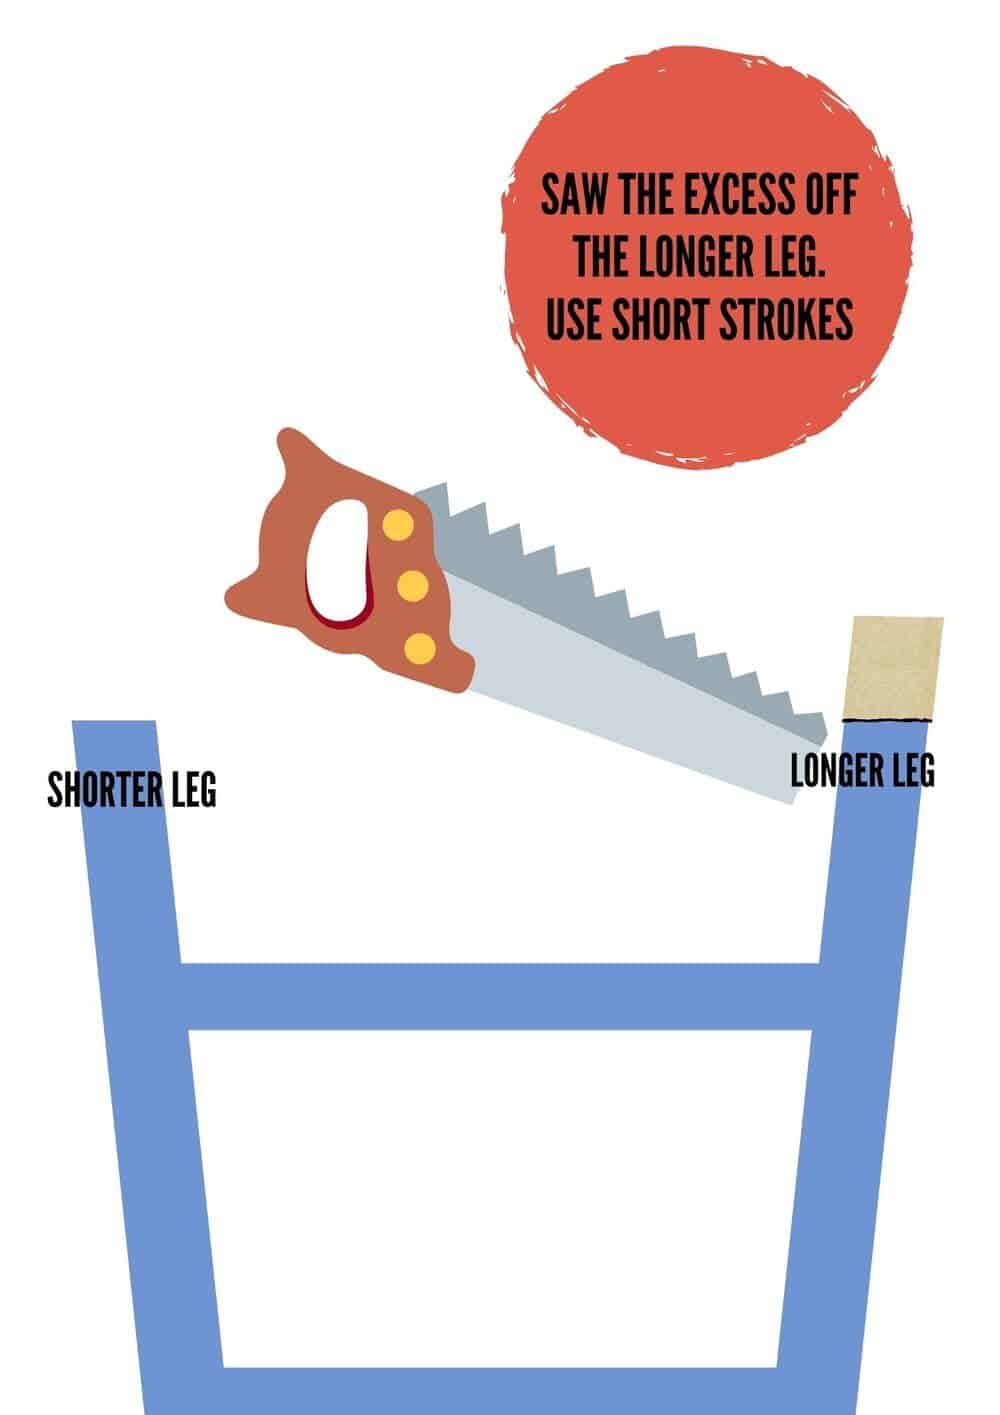
With a coping saw, start sawing away. It’s best to use short strokes so the result can be more even.
A coping saw is best, but you can use whatever saw you have as long as it’s okay to use on wood.

Step 8: Sanding
Once you’ve sawed the excess off, you can sand it down with 100-grit sandpaper until it’s smooth.
Step 9: Double-check!
Turn the chair over again to check if it’s still rocking. If it is, keep sanding a little at a time until the chair is completely level.
Step 10: Final steps
Sanding and sawing wood are going to take away the finish. You can do this optional step so it can look neater.
You can use wood stain or varnish to make it look brand new. Just make sure the wood stain matches the rest of the chair!
For more details, and a visual step by step, check out this helpful video by WoodWorkers Guild of America.
You’re done!
And that’s it, your chair is done! The legs are now perfectly leveled and you can use it without feeling irritated again.
Wasn’t that easy? Now you know what to do in case any of your wooden chairs start getting wobbly again!

My name is Vance, and I am the owner of To Ergonomics. Our mission is to improve your workflow by helping you create a supportive and welcoming environment. We hope that you’ll find what you’re looking for while you’re here.

