Office chairs are in high demand for business and home offices.
Because of this, manufacturers continue to mass-produce affordable office chairs.
These chairs work well but are not the most durable. They often break after some time of normal use.
One of the first things that break on these chairs is the armrests.
Armrests are often made from plastic materials that are bolted onto the seat of your office chair.
When you move around and when some weight is applied to the armrest over a long period of time, they crack and break.
In this article, we’re going to teach you how to repair your broken office chair arm yourself.
Let’s begin with the items you will need to make this repair.
Table of Contents
What You Will Need
Here is a list of the items you will need to repair your broken office chair arm:
- Screwdrivers (type depends on your chair)
- Plastic epoxy
- Mixing cup or plate
- Popsicle stick for mixing/applying epoxy
- A piece of rope
- Duct tape
For our bonus step below, you will need a few additional items:
If you don’t have these items lying around in your house, you can click the links and purchase them online.
Disassembling
Once you have everything you need, it will be time to start disassembling the armrest.
There are two common types of armrests on office chairs.
The first one is attached only to the seat, and the other one is attached both to the seat and the backrest of your office chair.
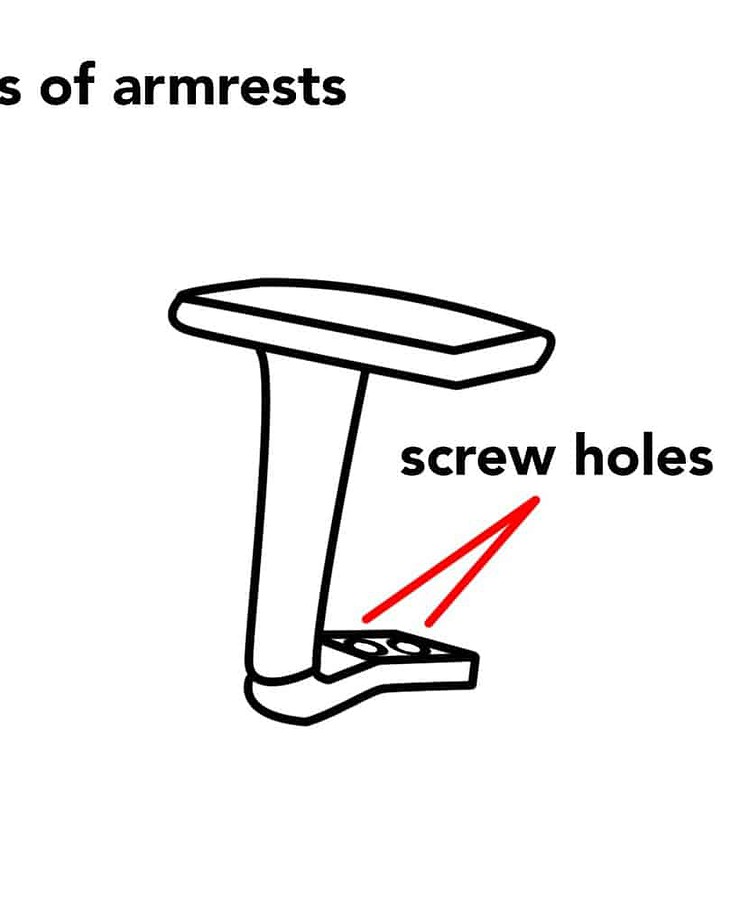
To disassemble your armrest, take a screwdriver and locate the screws/bolts on the armrests.
There are usually two to four bolts that you will need to unscrew.
Carefully unscrew each bolt making sure not to damage your armrest any further.
Gluing will be much better if no plastic bits from the armrest chip off. This is why it’s important to be careful when you’re disassembling the armrest.
Set the bolts aside and put your armrest on top of your working table.
Gluing the Armrest
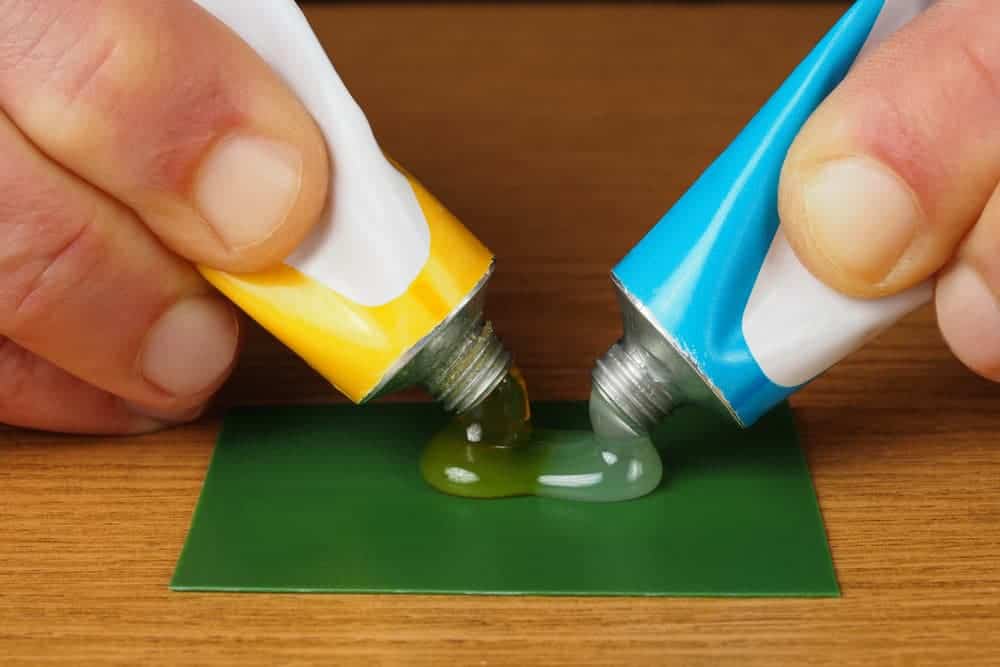
Before gluing your armrest together, give the broken sides a good cleaning.
Make sure to remove any dust, dirt, or grease that may prevent the glue from sticking properly.
Then take your epoxy and mix equal amounts of resin and hardener in your mixing cup.
You’ll want to act a little quick here because epoxy normally hardens within five minutes.
Using a popsicle stick, spread a generous amount of your epoxy mix onto the crack on your armrest.
Then press the broken parts together tightly with your hands.
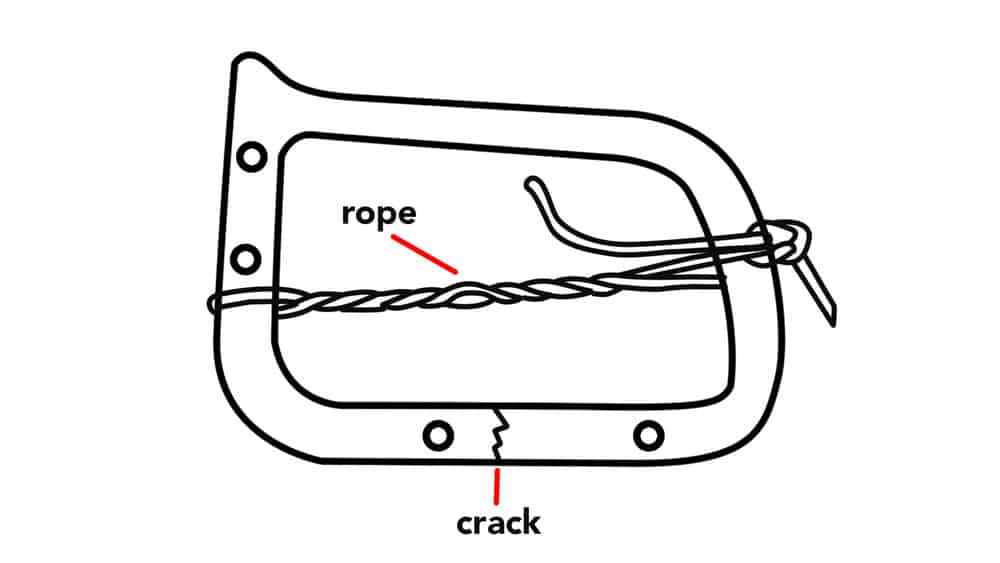
Take your rope and tie the armrest in such a way that it works like a clamp; clamping the broken armrest together.
Here’s an example:
Wipe off any excess epoxy that overflows from the crack.
After 10 to 15 minutes, take some duct tape and wrap it around the crack. This not only strengthens the bond but also hides the crack marks.
Let the armrest sit for another 24 hours or more before reassembly. This is to ensure that your epoxy will be fully hardened.
Reassembling
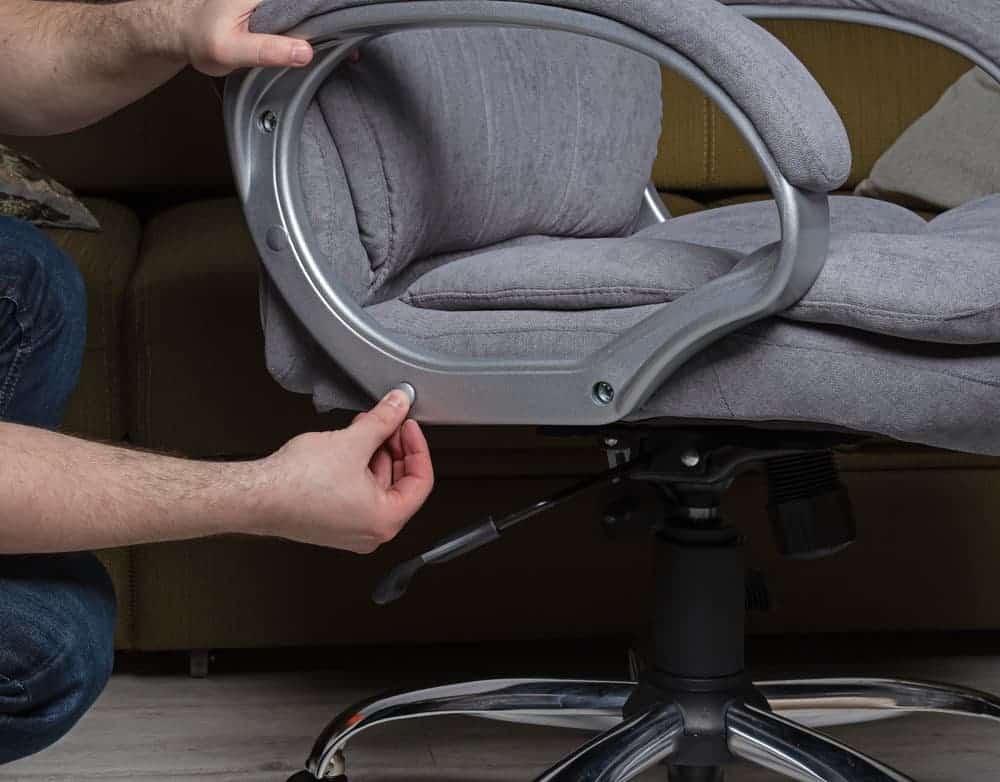
When your epoxy has fully hardened, remove the rope that you tied around the armrest.
Then carefully align the holes on your armrest with the ones on your seat.
Insert the bolts and fasten them. You don’t want to turn them too tightly because you might create new cracks on your armrest.
Remember to insert all the bolts and tighten them halfway before you start fully tightening.
This will ensure that your armrest is aligned properly and will prevent damage.
Bonus Step (wire staples)
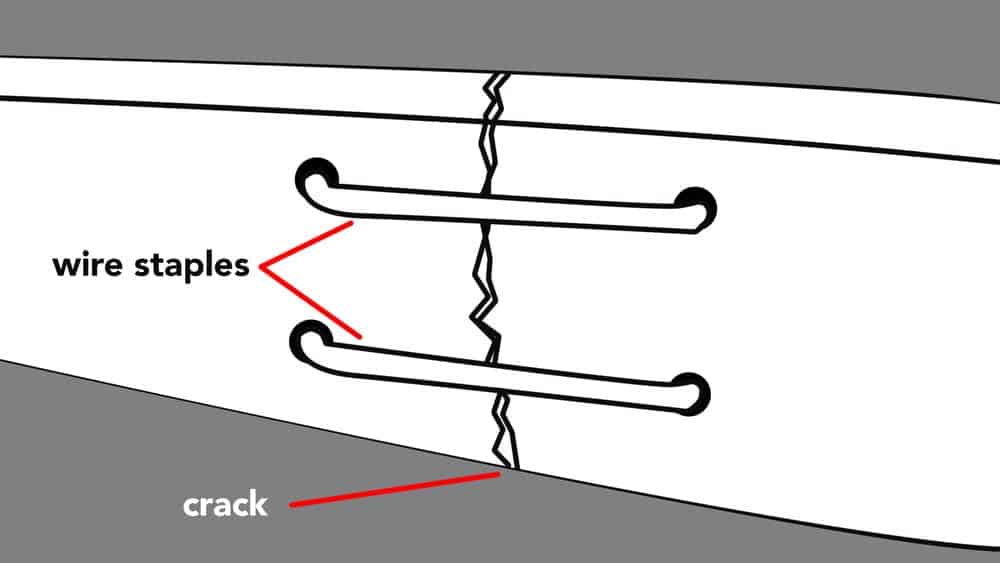
If you want to make your repair even stronger, you can create metal staples to help hold your armrest together.
This method will make your armrest almost unbreakable.
To begin, take your metal coat hanger or aluminum wire and, using your pliers, cut two pieces about 30cm long.
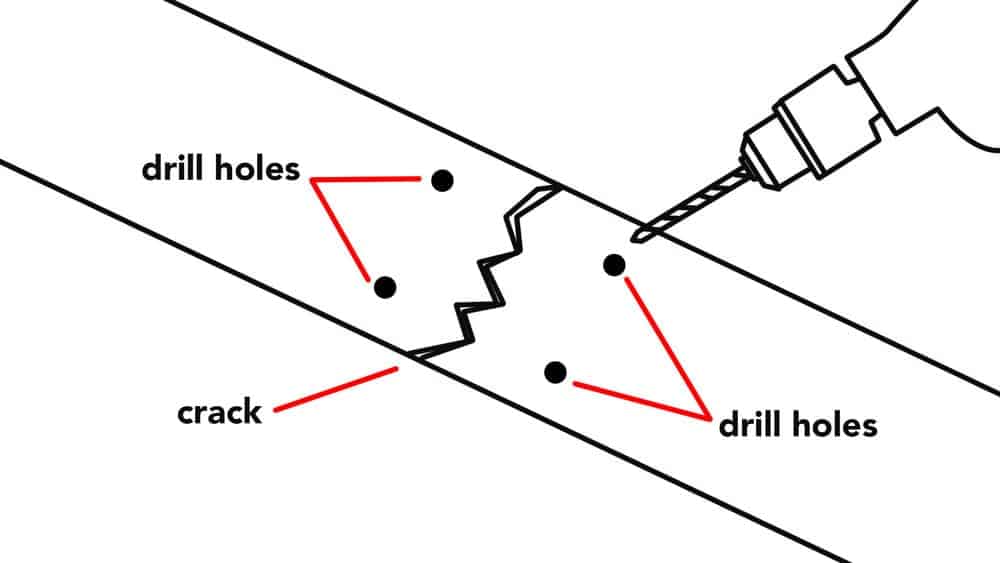
Then take your drill and 2.5mm drill bit and drill two holes on each side of the crack on your armrest.
Make sure there is enough space between your holes and the crack. If you drill too close to the crack, you could create even more damage to the armrest.
With the two pieces of 30cm wire you just cut, create “staples” by bending them with your pliers.
The bends on these staples should be a few millimeters shorter than the holes on your armrest. This is to ensure a tight fit for your staples.
Apply some epoxy to the staples and then insert them into the holes you just drilled.
Bend the staples on the other end of the armrest to fasten them in place.
If you have a lot of excess wire, cut it off with your pliers.
Once everything is in place, apply epoxy over the staples on both sides of your armrest. This is going to seal the staples in and prevent them from moving around or falling out.
If you do not like the look of your finished work, you can cover it up with some duct tape that matches the color of your armrest.
This will give it a nice clean look.
With the metal staples securely in place, your office chair arm will be much tougher than before. This repair is likely going to hold up for a few years.
If cracks develop on other parts of your office chair arm, you can repeat the same process.
Conclusion
There you have it! We hope that this article has helped you add a new skill to your arsenal.
There are many other methods out there to fix broken office chair arms, but the one we taught you in this article is by far the simplest and most effective method.
So the next time your office chair arm breaks, you’ll know exactly what to do. Don’t forget to apply the bonus step (stapling) to give your repair extra strength to withstand years of abuse.

My name is Vance, and I am the owner of To Ergonomics. Our mission is to improve your workflow by helping you create a supportive and welcoming environment. We hope that you’ll find what you’re looking for while you’re here.

