Exercise balls are a lot of fun. While dumbbells and resistance bands can help build muscle and tone, exercise balls can help keep your core engaged and spine straight throughout the workday then turn into an exercise tool after hours.
One thing that keeps people away from the joys of exercise balls is the fear of them popping. All it takes is accidentally rolling over a rogue thumbtack or letting your kid play with it for a little too long. Luckily, a puncture will not render your exercise ball obsolete.
Here is everything you need to know about patching up your trusting ergonomic companion.
Table of Contents
How to Find a Leak in an Exercise Ball?
First thing’s first, you need to determine if your ball is leaking air and where that leak is. If you find yourself sinking into your ball, even when you just filled it up a few hours ago, your ball has probably suffered a puncture.
Depending on the color of your exercise ball, locating the puncture can be a challenge. All it takes is one tiny hole, so skimming the surface for any impurities is inefficient.
The Water Trick
Using water to locate a leak in an exercise ball is quick and easy. You are relying on the leaking air to disrupt the water.

To do this, pour water over the exercise ball then squeeze it gently. You should see water spurting from the leak. This may be subtle, so make sure to do this in a quiet room where you can focus on any small noises and movements coming from the ball.
If pouring water over the exercise ball isn’t doing it for you, you can try and submerge the ball in a bathtub and look for any bubbles coming from the puncture. Many people have found this method to be successful.
Listen for the Leak
If your puncture is large enough, it may produce a small sound as air escapes from it. Start by filling the ball up with air. You want it to be quite full, although you should be mindful of overfilling it.
In a quiet space, bring your ear around the ball and listen for a gentle squeaking noise. Once you’ve located it, run your finger over the space and see if you can feel any air escaping.
Can You Patch an Exercise Ball?
Yes! Fixing an exercise ball is entirely possible. However, depending on the severity of the puncture, it may be easier to get a new one.
Have a look at the size of the leak. If it looks more like a gash than a puncture, you may have better luck finding a new ball.
Patching an exercise ball is simple and will give you a lot more time using your precious ergonomic ball. The key is to take your time and do it properly so you don’t have to re-patch it every few weeks.
How Do You Fix a Hole in an Exercise Ball?
Slapping a strip of duct tape on a hole is an easy fix, and to be honest, it’s quite effective. However, you don’t want to use an exercise ball covered in patches of ugly tape. So, before you reach for your trusty roll of tape, here are a few other patching alternatives to look into.
Liquid PVC
If you’re looking for a super seamless repair option, using liquid PVC is a great option. It’s easy to use, and you aren’t left with a patchy ball.
Use the liquid PVC like glue or a liquid band-aid and apply it generously to the area to seal the hole shut. Let it dry overnight before trying to use it. If you want to double the strength, let the ball dry then add another layer of PVC.
Make sure to degrease the area before sealing it with liquid PVC, otherwise the product won’t stick!
The PVC will dry clear and should blend in with the rest of the ball. We don’t recommend this method for very large rips or tears, but it should work well on small punctures that are causing your exercise ball to slowly deflate throughout the day.
You can buy liquid PVC here . This one is made for waterbeds, boats, tents, and wetsuits, so it’s designed to be durable and withstand wear and tear.
- PVC Stitch is a perfect durable heavy duty Air Mattress Patch Kit, patch for Above Ground Pools, Hot Tub Repair...
- Method Of Use: This is liquid PVC that will become a permanent patch when it dries out. No other patches are...
- PVC Stitch is a Water Resistant Sealant for Outdoor & Water Gear, UV Resistant Adhesive, Heat & Cold Resistant...
Use a Repair/Patch Kit
Some exercise balls include a repair kit for you to use in case of any leak or punctures. A repair kit is an affordable and efficient way of sealing up your ball. One drawback is that it won’t be as seamless as the liquid PVC option, although it might be more durable.

Start by degreasing around the leak or puncture. You can wipe it down with a cloth; just make sure it’s clean and free from any oily residue.
If your kit contains sanding paper, use that next. This will prep the adhesive area and help the patch blend into the ball.
Take your adhesive and apply it evenly around the hole. You want the layer of glue to be as large as the patch you intend to stick onto the ball.
One common mistake people make is to slap the patch on as soon as they apply the adhesive. It’s important to wait a few seconds for the glue to dry a little and become tacky, otherwise, it won’t work.
Now, you’re ready to put the patch over the leak. Ensure the patch is larger than the hole and covers it completely. You’re better off having a patch that’s larger, so don’t try to cut it down too much.
Let the patch dry overnight. You can place a heavy book or paperweight over the patch as it dries to ensure it’s firmly pressed onto the ball.
This patch kit comes in a variety of colors and is described as ‘heavy duty’ .
Duct Tape
We know we started off by telling you not to use duct tape. We don’t deny it gets the job done, though.
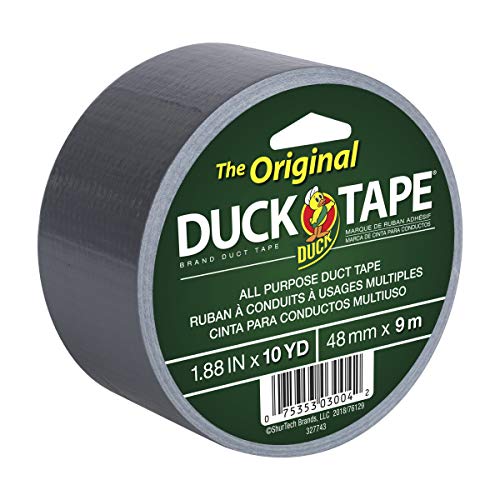
However, what we don’t suggest is for you to slap the tape on the puncture without any preparation. There are a couple of things you can do to make the most out of a duct tape patch job.
To start, you must clean the area well. The duct tape will stick if you don’t do this, but it will eventually loosen and allow air to escape.
If you have adhesive, use that as extra insurance. Apply it to the area around the puncture in an even layer. Remember that you need to let it dry slightly so it becomes tacky and sticky.
Finally, you can apply duct tape. You want it to cover the puncture and adhesive. Let it sit overnight to let the glue dry completely before inflating it.
If you can, try to find duct tape that matches the color of your exercise ball.
This method works quite well and we like that you don’t need any special materials for it.
How Much Air Should an Exercise Ball Have?
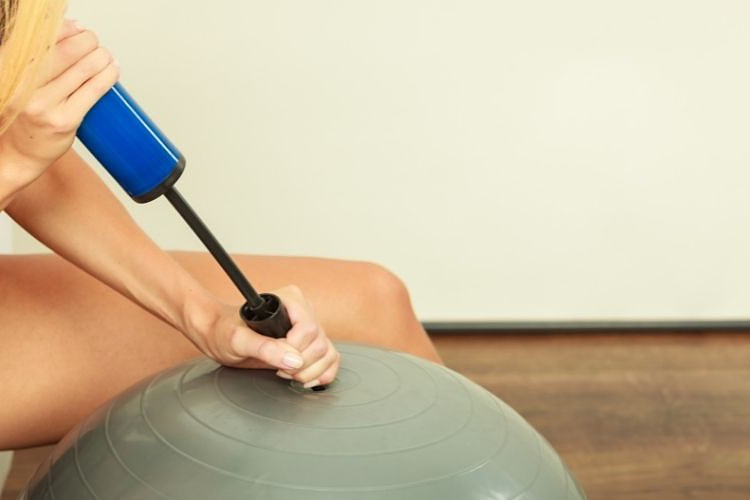
It is easy to over or underfill an exercise ball. Overfilling it can cause it to pop, which may be the reason you’re looking for puncture repair methods to begin with. You want to be particularly careful about overfilling an exercise ball after repairing it.
Underfilling an exercise ball may lead to spine and hip discomfort.
The easiest way to tell if your ball has too much air in it is to see how soft it is. If you’re able to push into it about 2 inches when fully inflated, it has enough air in it.
If the ball is harder, you will want to release some air from it. If the ball is softer, pump it up a little more.
What Can You Do with Old Exercise Balls? (in case that you can not fix the ball)
If you’ve deemed your exercise ball unfit for us, the best thing to do is to recycle it. Most exercise balls are made from vinyl, which is not commonly recycled. You will need to take it to a local specialty recycled center.

If you’re feeling creative, you could cut the ball in half and paint the inside with cement. Once it’s dried, you can fill it with soil and plant a few decorative flowers for your yard! Just make sure the ball dries in its desired shape as it will literally be set in stone!
In Conclusion
There are several ways to fix a punctured exercise ball. If the leak is very small, liquid PVC will do the trick. Otherwise, you may want to purchase a repair kit.
We always recommend using patches that match your exercise ball, so check out the repair kit we’ve linked above since it comes in various colors.
The best way to avoid puncturing your ball is to keep it on a soft, cleared surface and not to overfill it.
Have you ever had to repair a lead in your exercise ball? What method did you use? We’d love to hear about it in the comments.
Good luck!

My name is Vance, and I am the owner of To Ergonomics. Our mission is to improve your workflow by helping you create a supportive and welcoming environment. We hope that you’ll find what you’re looking for while you’re here.

